Yannick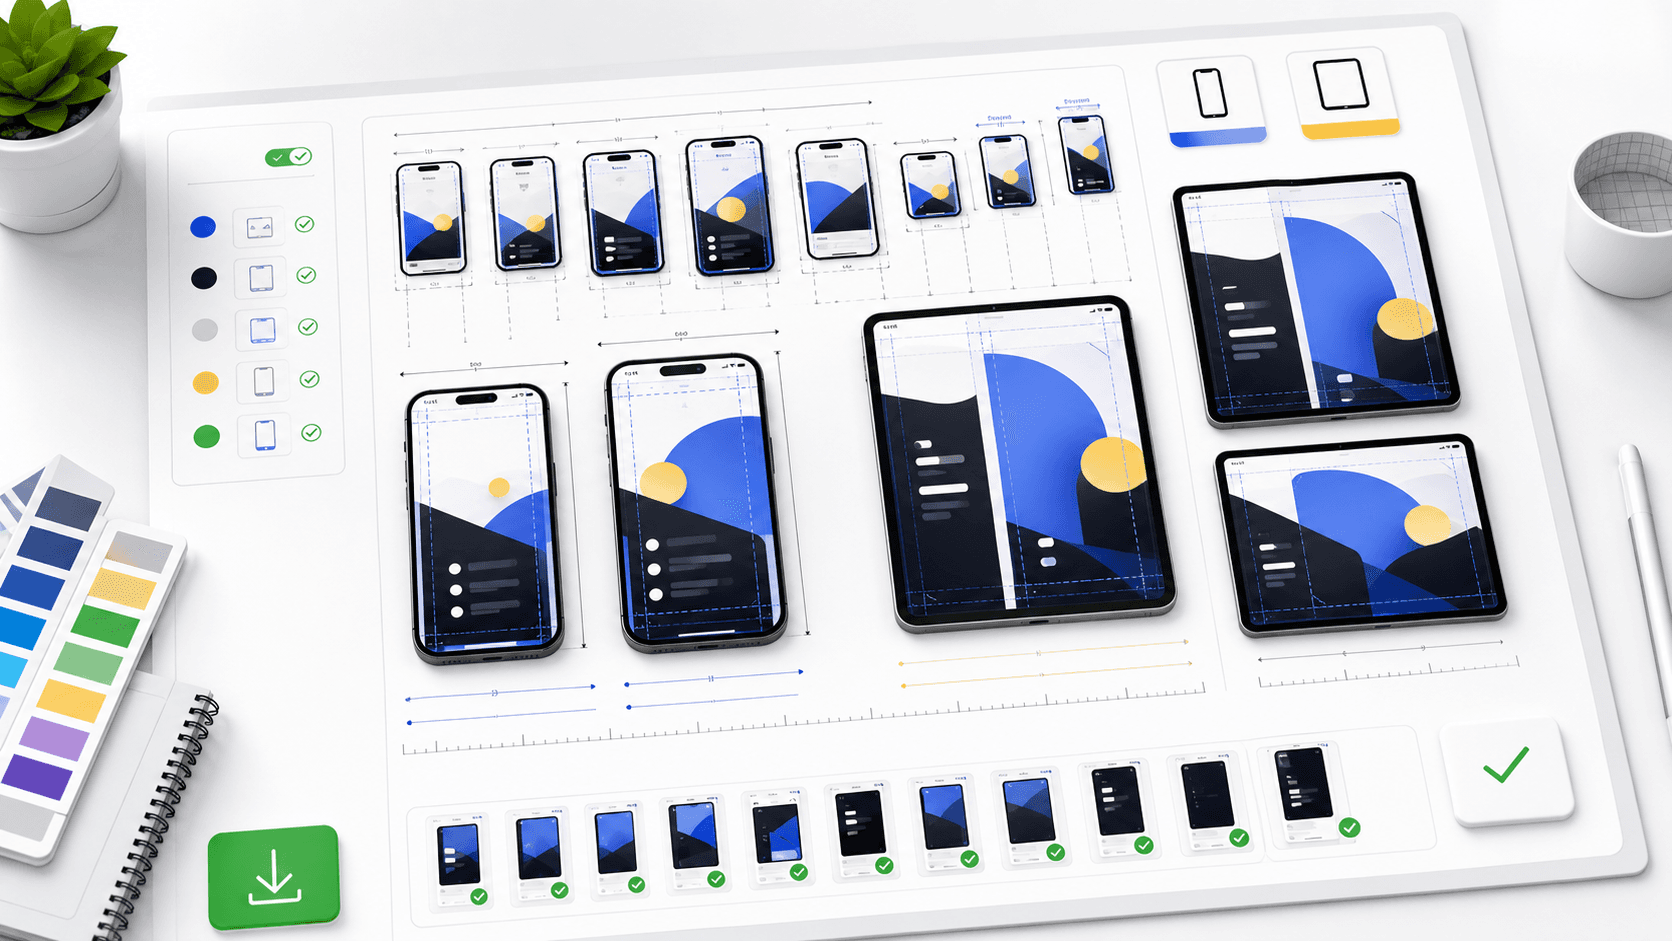
Specification workflow
Build once, validate every required set
Choose a source size
Start from the largest required canvas for each device family.
Prepare localizations
Keep copy and product UI appropriate for every market.
Run export QA
Check format, dimensions, alpha, order, and readability.
Upload checklist
- Upload one to ten screenshots for each supported device set.
- Use JPEG, JPG, or PNG files accepted by App Store Connect.
- Plan screenshots around the largest required display sizes first.
- Check each localization before submitting a new app version.
- Keep screenshots visually consistent with app previews and the icon.
Create App Store screenshots from the spec
The key App Store screenshot rules
Apple's screenshot specification reference lists the accepted device sizes and says each set can include one to ten screenshots. App Store Connect accepts JPEG, JPG, and PNG screenshots. Apple also notes that if the UI is the same across device sizes or localizations, you can provide the highest-resolution screenshots and let Apple scale down for smaller sizes.
Design before exporting
The spec tells you what files are accepted, but conversion depends on the story. Build a screenshot set around the first three frames: problem, product proof, and outcome. Then export the same system across iPhone, iPad, and localized variations instead of rebuilding each size manually.
Engineering teams that need repeatable raw captures can connect this design system to a Fastlane snapshot and deliver workflow, while keeping approved marketing assets separate from generated UI screenshots.
Current iPhone source sizes to know
Apple's current 6.9-inch portrait specifications include 1260 × 2736, 1290 × 2796, and 1320 × 2868 pixels, with the dimensions reversed for landscape. The 6.5-inch set includes 1242 × 2688 and 1284 × 2778 pixels. Check Apple's live specification table before every release because supported devices and accepted mappings can change.
When the UI is identical across sizes, App Store Connect can scale the highest-resolution upload down to smaller device sizes. Treat that as an upload convenience, not a reason to skip visual QA: type, device frames, and safe margins still need to look intentional at every displayed size.
Final pre-upload quality check
- Export JPEG, JPG, or PNG files without an alpha channel.
- Keep every screenshot in a set in the same orientation.
- Read the smallest caption at the actual store-preview size.
- Make the first three screenshots work as a complete mini-story.
- Verify localized copy and localized in-app UI together.
Format
Use accepted JPG, JPEG, or PNG files.
Count
Prepare one to ten screenshots per set.
Order
Put the clearest value proof first.
Official sources
Practical deep dive
Convert specifications into an export matrix
Do not memorize one iPhone size and assume it covers every release. Build a matrix from the current App Store Connect specification, the device families your app supports, each orientation, every locale, and the source capture used to create the final asset.
| Matrix field | Example value | Validation | Failure caught |
|---|---|---|---|
| Device family | iPhone or iPad display class | Match current Apple reference | Unsupported or missing set |
| Orientation | Portrait or landscape | Match the app experience | Mixed or rotated delivery |
| Format | Accepted JPEG or PNG | Inspect dimensions, color, alpha | Upload rejection or visual shift |
| Locale and order | Market-specific 1–10 sequence | Preview in App Store Connect | Wrong language or story |
Separate capture size from designed export
Capture clean product UI from a supported device or simulator at a stable source resolution. Keep the raw screen, caption, background, frame, and decorative layers editable. The final uploaded file must match an accepted display class, but the design source should not be a flattened screenshot that cannot be localized or updated.
Use real product states without personal data, debug elements, or unsupported functionality. Review status bars, keyboard, permissions, dark mode, and orientation against the submitted build so the listing does not depict a stale or impossible experience.
Run a final export acceptance test
Verify pixel dimensions, format, opacity, color appearance, file naming, device family, orientation, locale, and sequence. Inspect the first three frames at listing size and confirm that captions remain readable without hiding the product proof.
Upload to a non-production or draft listing state when possible and review the rendered result in App Store Connect. Store the approved source and export manifest beside the release so a future UI change can be traced to every affected device and locale.
Include the supported operating-system appearance in the review. If the app offers light and dark experiences, decide deliberately which one communicates the feature and confirm that backgrounds, status bars, keyboards, and system controls do not create accidental platform inconsistencies.
When Apple adds a display class or your app adds iPad support, update the matrix before creating assets. Reuse the approved message and design tokens, then recapture native UI and recompose for the new canvas instead of stretching an older phone export.
Frequently asked questions
How many App Store screenshots can I upload?
Apple supports up to ten screenshots for an applicable device display class. Confirm the current App Store Connect rules for the app and platform.
Can App Store Connect scale screenshots?
Apple can scale accepted screenshots for some smaller device classes, but you should verify the current display-class coverage and preview the result.
Should iPhone and iPad use the same design?
Reuse the story and visual system, but create native compositions that show the correct interface and use the available canvas well.
Sources and next steps
Continue with App Store screenshot guide, iOS vs Google Play guidelines, and Fastlane screenshot workflow.